RV Quest Part06
The roof (EPDM rubber) has been glued back down. After much research, we determined the best way to clean the roof was simply a mild soap and water. Several sources mention using a solvent based cleaner, but upon further investigation we found out that all of these solvents would make the rubber swell as it absorb some of the solvent. This can lead to two problems: 1.) loss of adhesion as the rubber shrinks back down. 2.)loss of adhesion as the rubber releases some of the solvent back onto the fresh adhesive. We used Dicor 901BA, which is a water based acrylic adhesive. This stuff has a VERY high tack strength. We spread it on with a 1/8" notched trowel.
After gluing the roof down. Worked resumed work on refitting the front 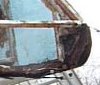 panel. The wood was non-existent where the front panel meets up with the top bunk. After puzzling over what c
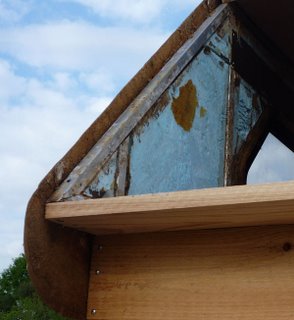 ould possible be holding up the bunk, I realized that there had to have been a wood cross brace going across the front. With a little bit of thought and effort we were able to reconstruct the front bracing. A generous bead of Liquid Nails and stainless steel screws were used for assembly.
 panel. The wood was non-existent where the front panel meets up with the top bunk. After puzzling over what c
 ould possible be holding up the bunk, I realized that there had to have been a wood cross brace going across the front. With a little bit of thought and effort we were able to reconstruct the front bracing. A generous bead of Liquid Nails and stainless steel screws were used for assembly.
In rebuilding, care was taken in the selection of materials. Cypress and Western Red Cedar were used for resistance to rot and light weight. All screws are being replaced with stainless steel square drive pan head screws. Phillips head screws are next to impossible to remove once any corrosion sets in. The few dollars more you will spend on the SS square drives will be well spent the first time you EVER need to revisit your repair.
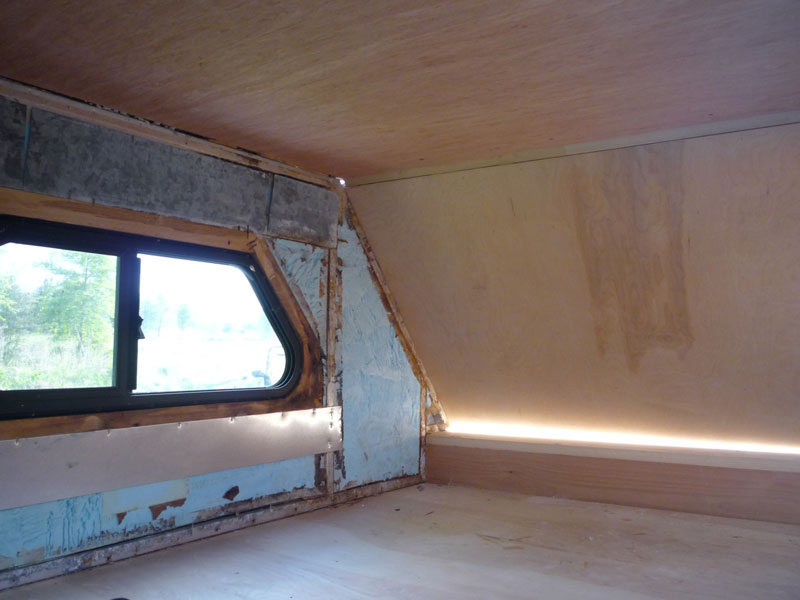
This is a close up of the front panel before the window is cut out. This 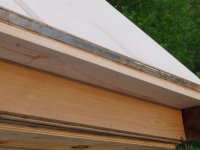 picture serves as a reminder that there are SS screws holding the window panel to the top bunk as well as to the aluminum cross brace on the roof.
 picture serves as a reminder that there are SS screws holding the window panel to the top bunk as well as to the aluminum cross brace on the roof.
 The inside bunk is just about finished. A few triangle cross-section trim molding for the joints are just about to be fastened. The side panels are all almost ready to go up. Notice the galvanized metal flashing used above and below the windows. Either the manufacturer was a little on the haphazar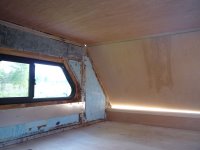 d side with the flashing, or the previous owner had attemped a repair and did not replace everything as found. We found flashing where expected and an occasional stray piece. The driver and passenger sides had different lengths of flashing above and below the windows.
 d side with the flashing, or the previous owner had attemped a repair and did not replace everything as found. We found flashing where expected and an occasional stray piece. The driver and passenger sides had different lengths of flashing above and below the windows.
 We want to remove the side windows before we replace the inside wood panels. This way we'll be able to cut out window using the opening as a pattern.
The weatherman says rain for the next several days. So time to cover everything with tarps.
posted by P. Ry at
8:54 PM
![]()

0 Comments:
Post a Comment
<< Home