RV Quest Part 11
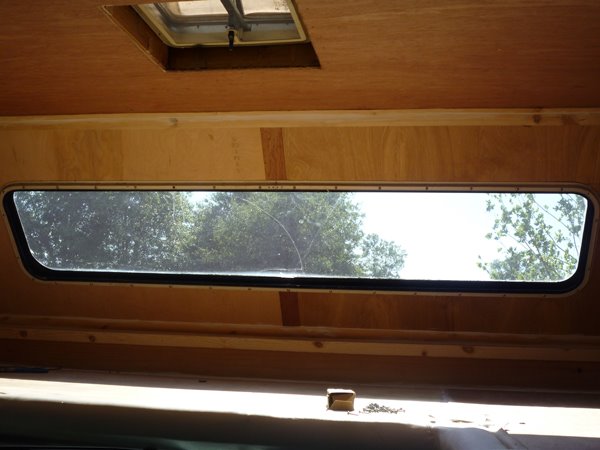
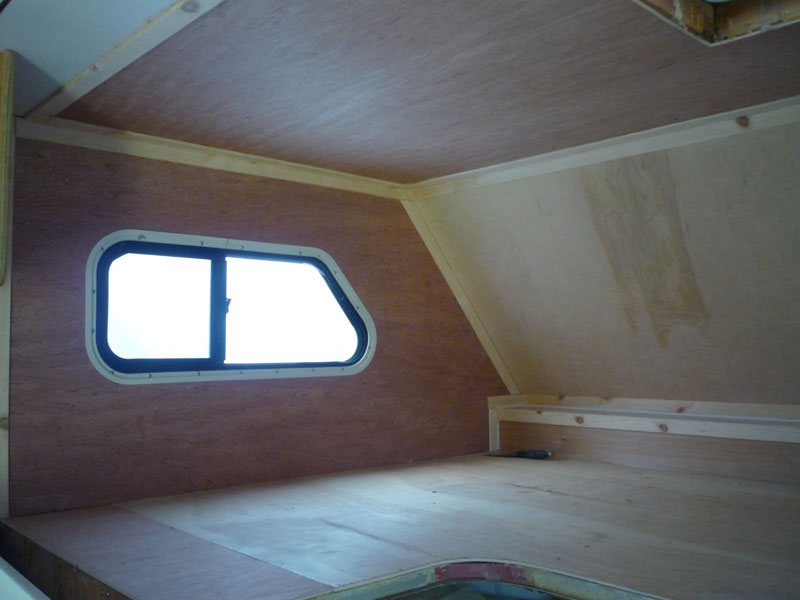
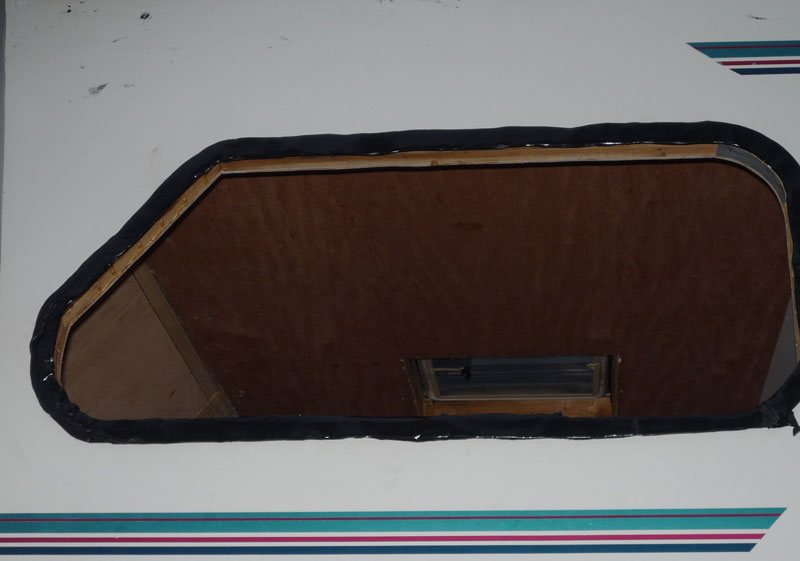
This is an inside view of the front window after rebuilding the Class C motor home. The inside will be painted, but we will wait till after a few thunderstorms to make sure the seals are good on all of the seams. The unpainted wood will quickly show water leaking, while painted wood would prevent the water from seeping to the inside and would just trap it between the fiberglass and the inside paint.
As a matter of fact after the first rain, we realize the the glass itself needs to be removed from the aluminum frame and resealed. While cleaning this window my wife had a pretty strong allergic reaction to the sealant that was used before. So we are going to use a different sealant to seal the glass to the aluminum frame. After considerable research, we're going to go with Sikaflex 221. This is a polyurethane elastic adhesive. It has a very strong bond and remains very flexible.
posted by P. Ry at
8:53 PM
0 Comments
![]()
RV Quest Part 10
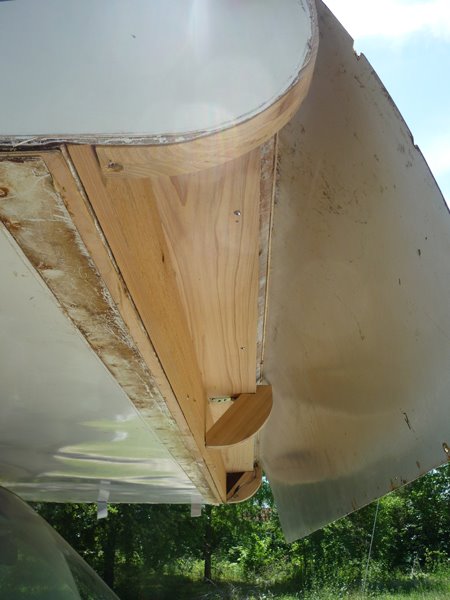
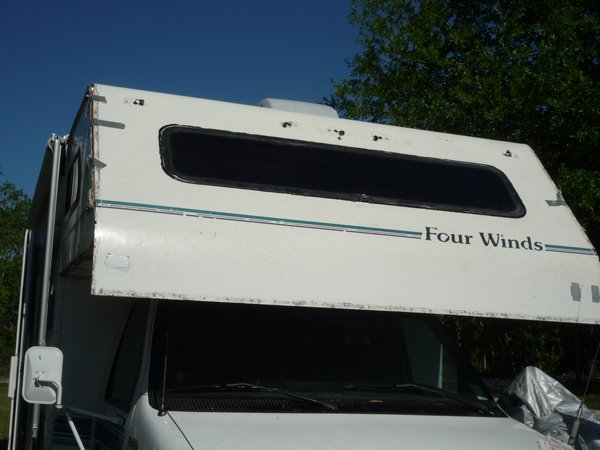
After mounting the window the fiberglass is wrapped around the "nose" of the Class C rv.
All of this wood was completely rotted. So a little thought and a lot of "cut to fit" was used to allow the fiberglass to curve around the nose. Cypress was used to help prevent rot in the event of a leak.
Be sure to use an odd number of profile curves. You want to have one in the center. When you start to bend the fi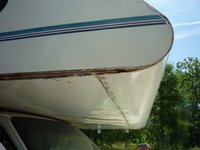 berglass, start in the center and work outwards a little at a time to each side. If you start on a side you can end of with a small twist or diagonal to the fiberglass and the opposite side is not going to match up correctly.
 berglass, start in the center and work outwards a little at a time to each side. If you start on a side you can end of with a small twist or diagonal to the fiberglass and the opposite side is not going to match up correctly.
Once again a layer of black butyl putty tape is used where the fiberglass seams join.
posted by P. Ry at
8:42 PM
1 Comments
![]()
RV Quest Part 09
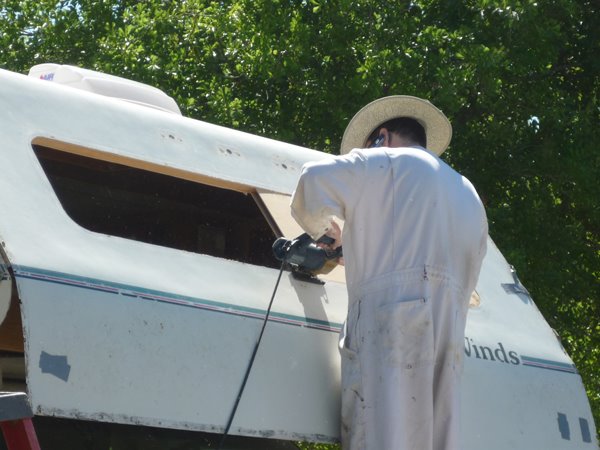
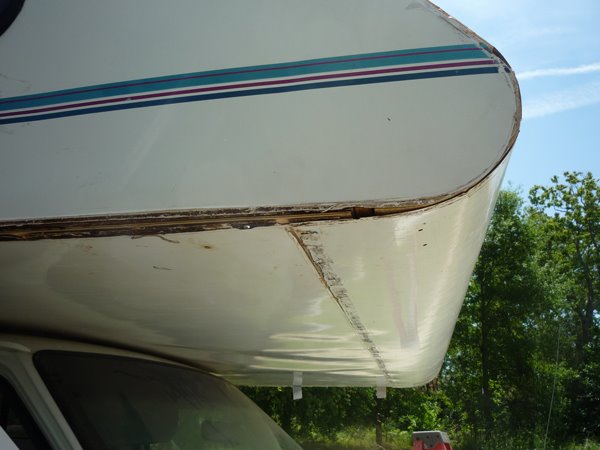
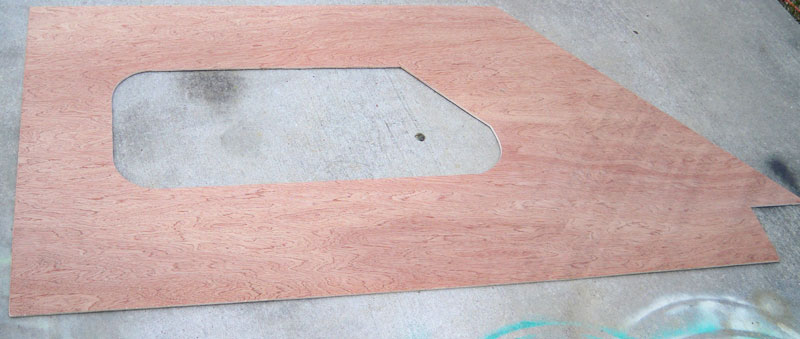
Now it is time to glue the fiberglass skin on to the rebuilt plywood on the front of the Class C rv.
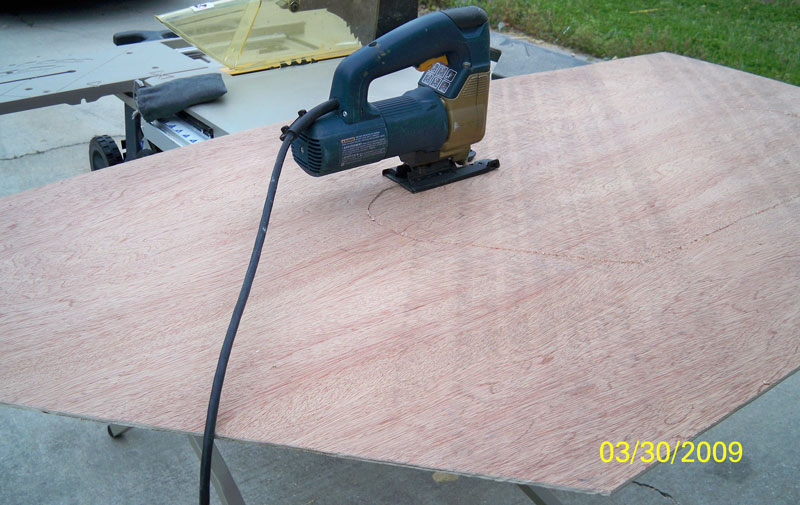
After gluing and stapling the fiberglass, the front panel is cut out for the window. The original cutout on the fiberglass was used as the pattern. If necessary use masking tape to outline the cutout to prevent the fiberglass from being scuffed/scratch ed by the jigsaw. Have to give credit to the Bosch jigsaw. Cutting with it is a pleasure compared to old egg beaters Black & Decker use to put out (still do?)
 ed by the jigsaw. Have to give credit to the Bosch jigsaw. Cutting with it is a pleasure compared to old egg beaters Black & Decker use to put out (still do?)
Black butyl putty tape is used to seal the window to the fiberglass.
That stuff is tenacious, but it does clean up pretty easy with "Orange Goop" type automotive soap.
posted by P. Ry at
8:27 PM
0 Comments
![]()
Tuesday, April 14, 2009
RV Quest Part 08
 Finally after a month and a half, we have finished rebuilding the inside of the motorhome. All of the front cab-over has been rebuilt. The trim molding has been installed and caulked. Unlike the previous owners, the caulk on the inside is just for painting purposes not to "keep water out" :)
Our initial inspection also had revealed a leaking water pump. The carpet was totally soaked with water so instead of merely trying
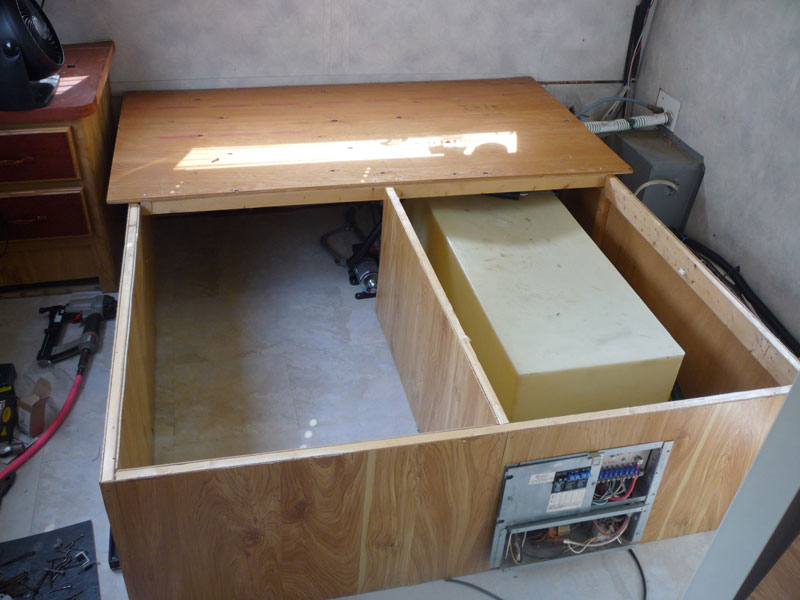 to dry it out, we chose to rip the carpet up and replace with vinyl tile. After removing all of the screws on the bed, it was necessary to pry the plywood off one side of the frame. Once the plywood is removed, you can finally remove the screws holding the frame down to the floor. Remove the carpet. Install the vinyl floor. Replace the pump. Here the bed is in the process of being reassembled.
posted by P. Ry at
7:30 AM
0 Comments
![]()
Wednesday, April 1, 2009
RV Quest Part 07
The side windows were removed and a layer of "monkey poop" was placed around the opening. This tape is actually a black butyl rubber tacky tape. It is more elastic and less prone to drying out than the grey type. The windows originally had a strip of foam rubber weather stripping. This was almost completely dry rotted.
(Looks like first project of the summer is to remove all of the remainging windows on the rv and reseal them.) This is really not that big of a project. After removing the screws from the inside window bracket, a putty knife can be used on the outside to gently pry the window off.
 After the windows were removed the last of the interior side panels were put in place and the window opening cut out. And finally the windows were reattached.
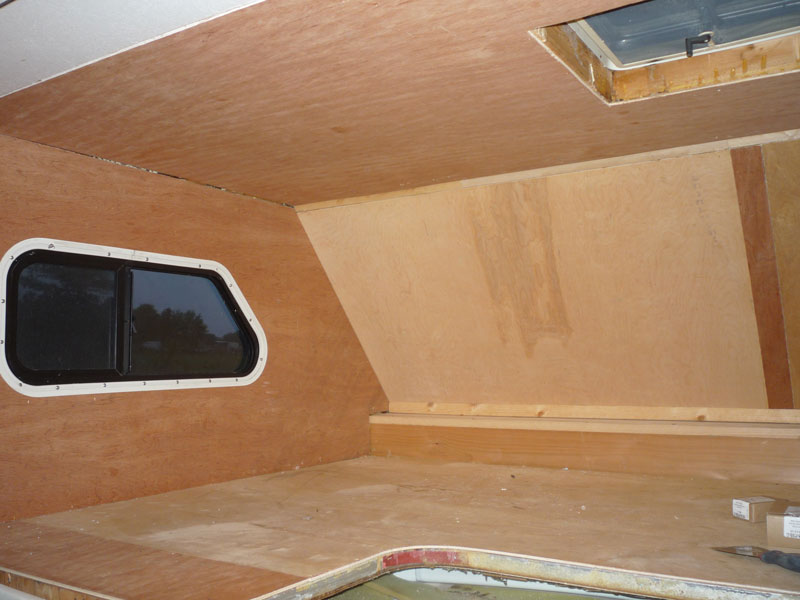
The inside bunk is now finished except for the trim molding and paint. It is very sturdy and should easyally hold several children :) It is a wonder that I did not fall through the orignal bunk when I was doing the initial inspection.
posted by P. Ry at
6:05 AM
0 Comments
![]()
Links
Previous Posts
- RV Quest Part 14
- RV Quest Part13
- RV Quest Part 12
- RV Quest Part 11
- RV Quest Part 10
- RV Quest Part 09
- RV Quest Part 08
- RV Quest Part 07
- RV Quest Part06
- RV Quest Part 05
Archives

Subscribe to
Posts [Atom]